
Product title:
Product availability:
In Stock
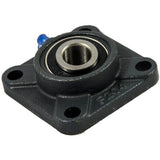
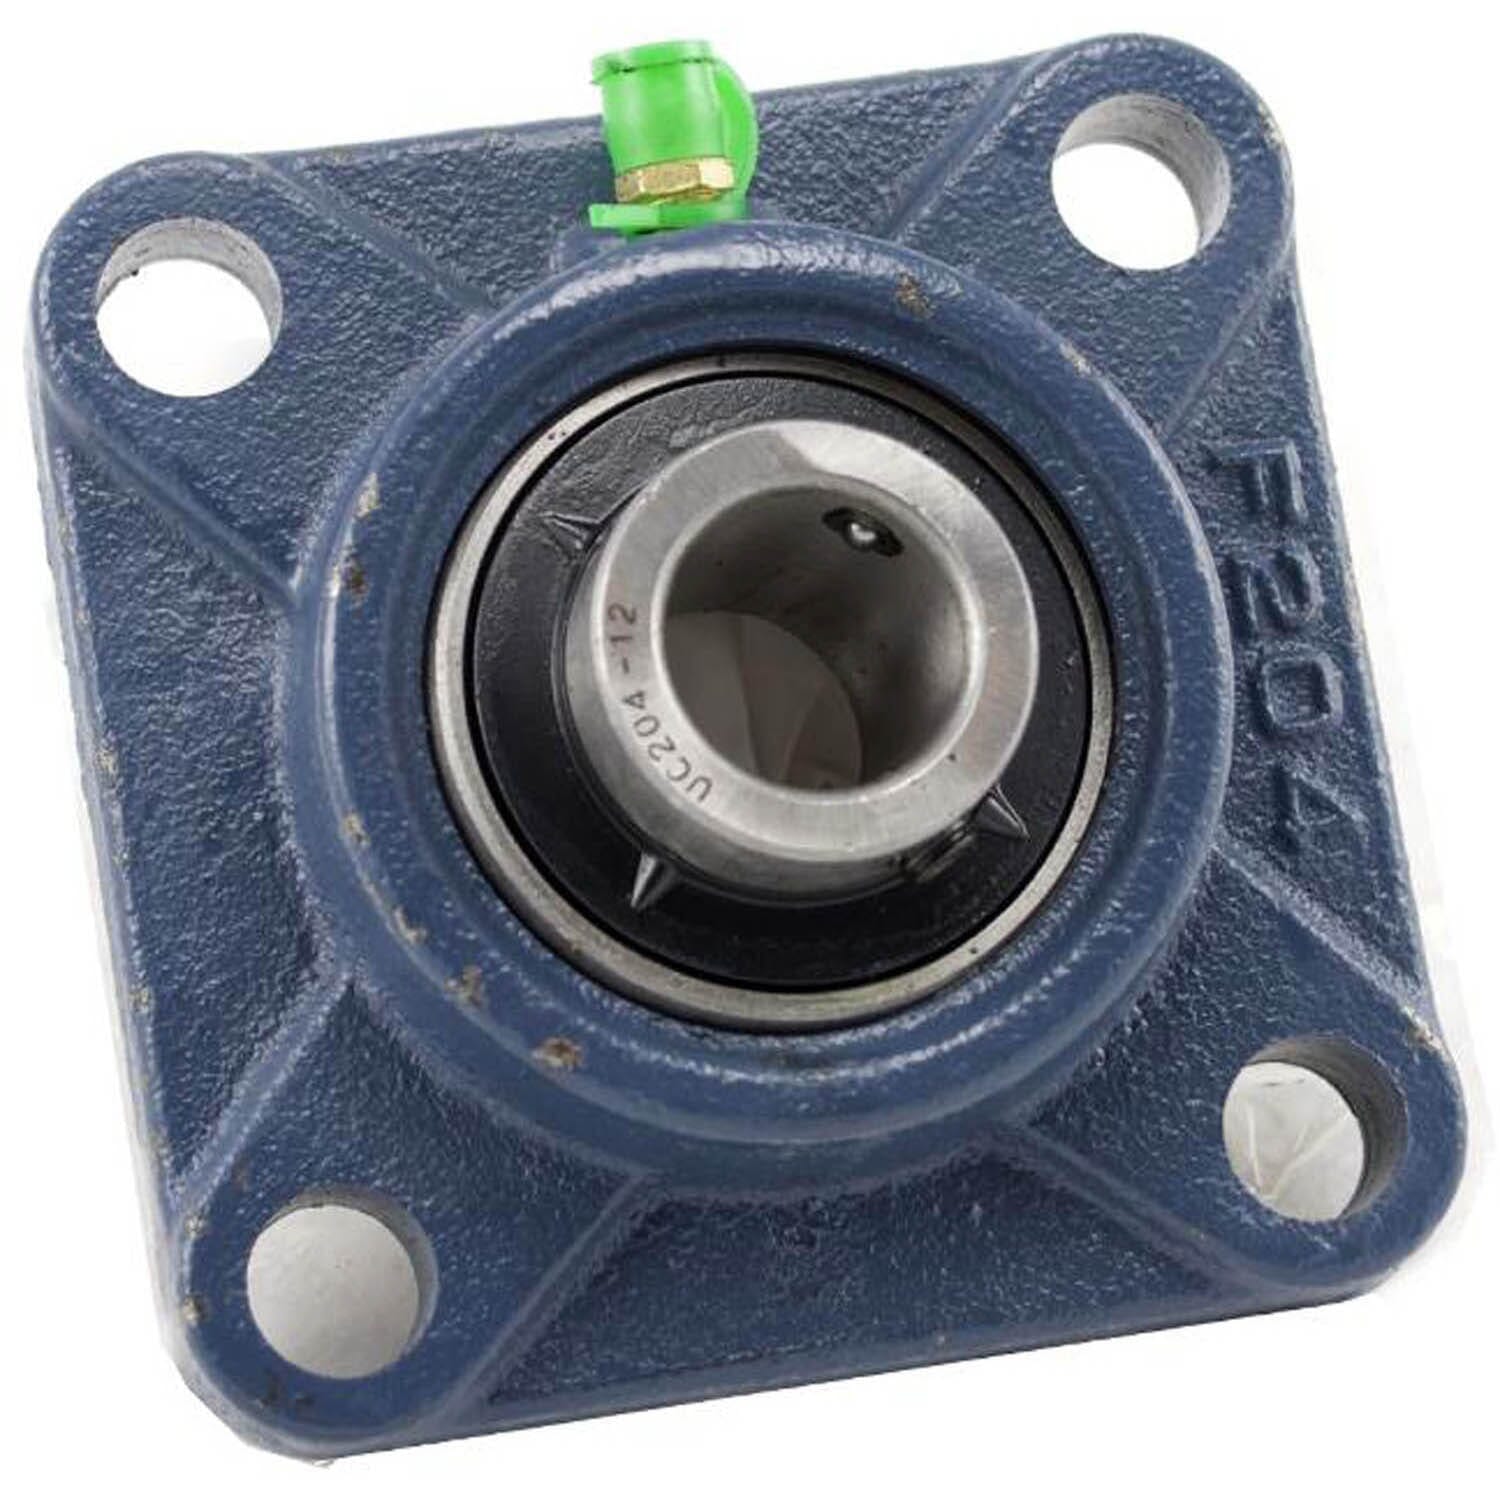
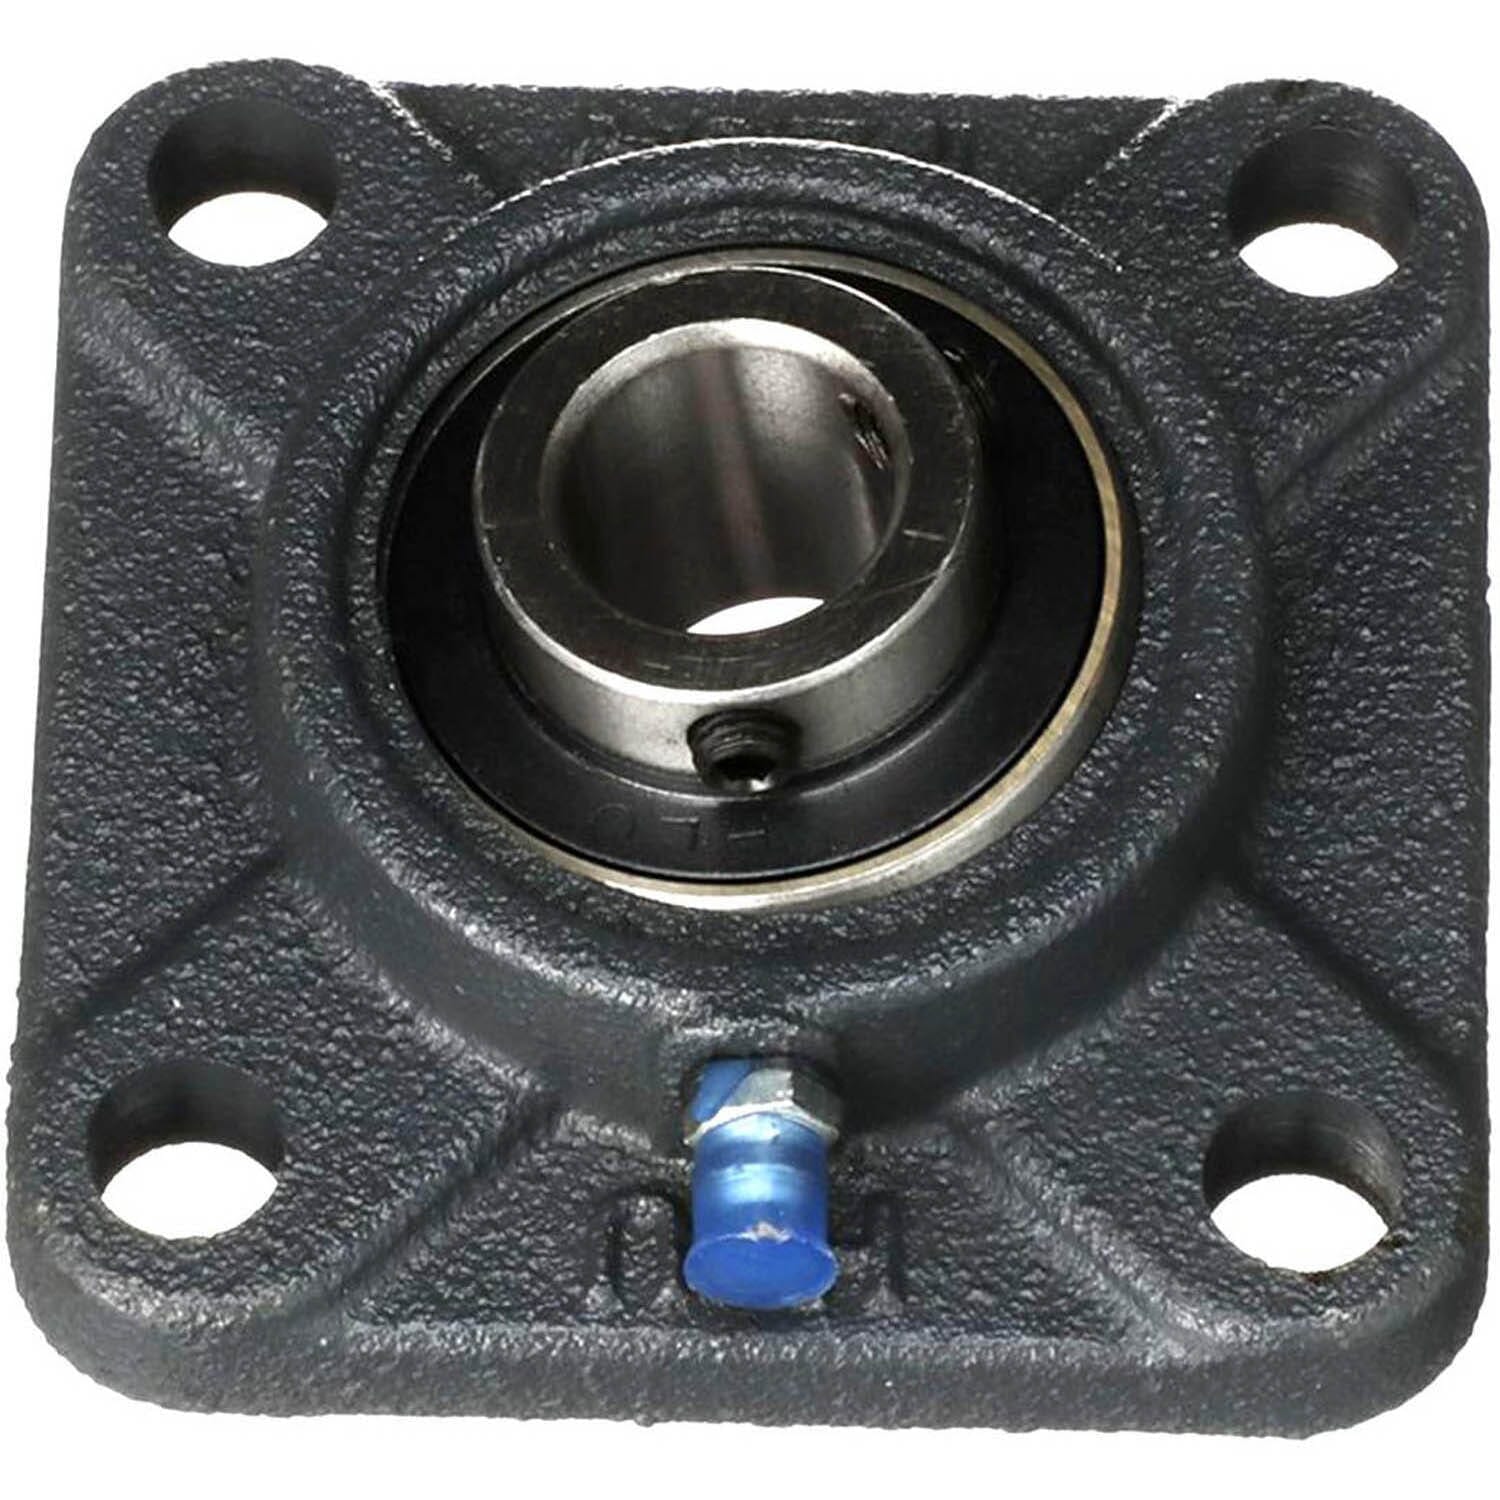
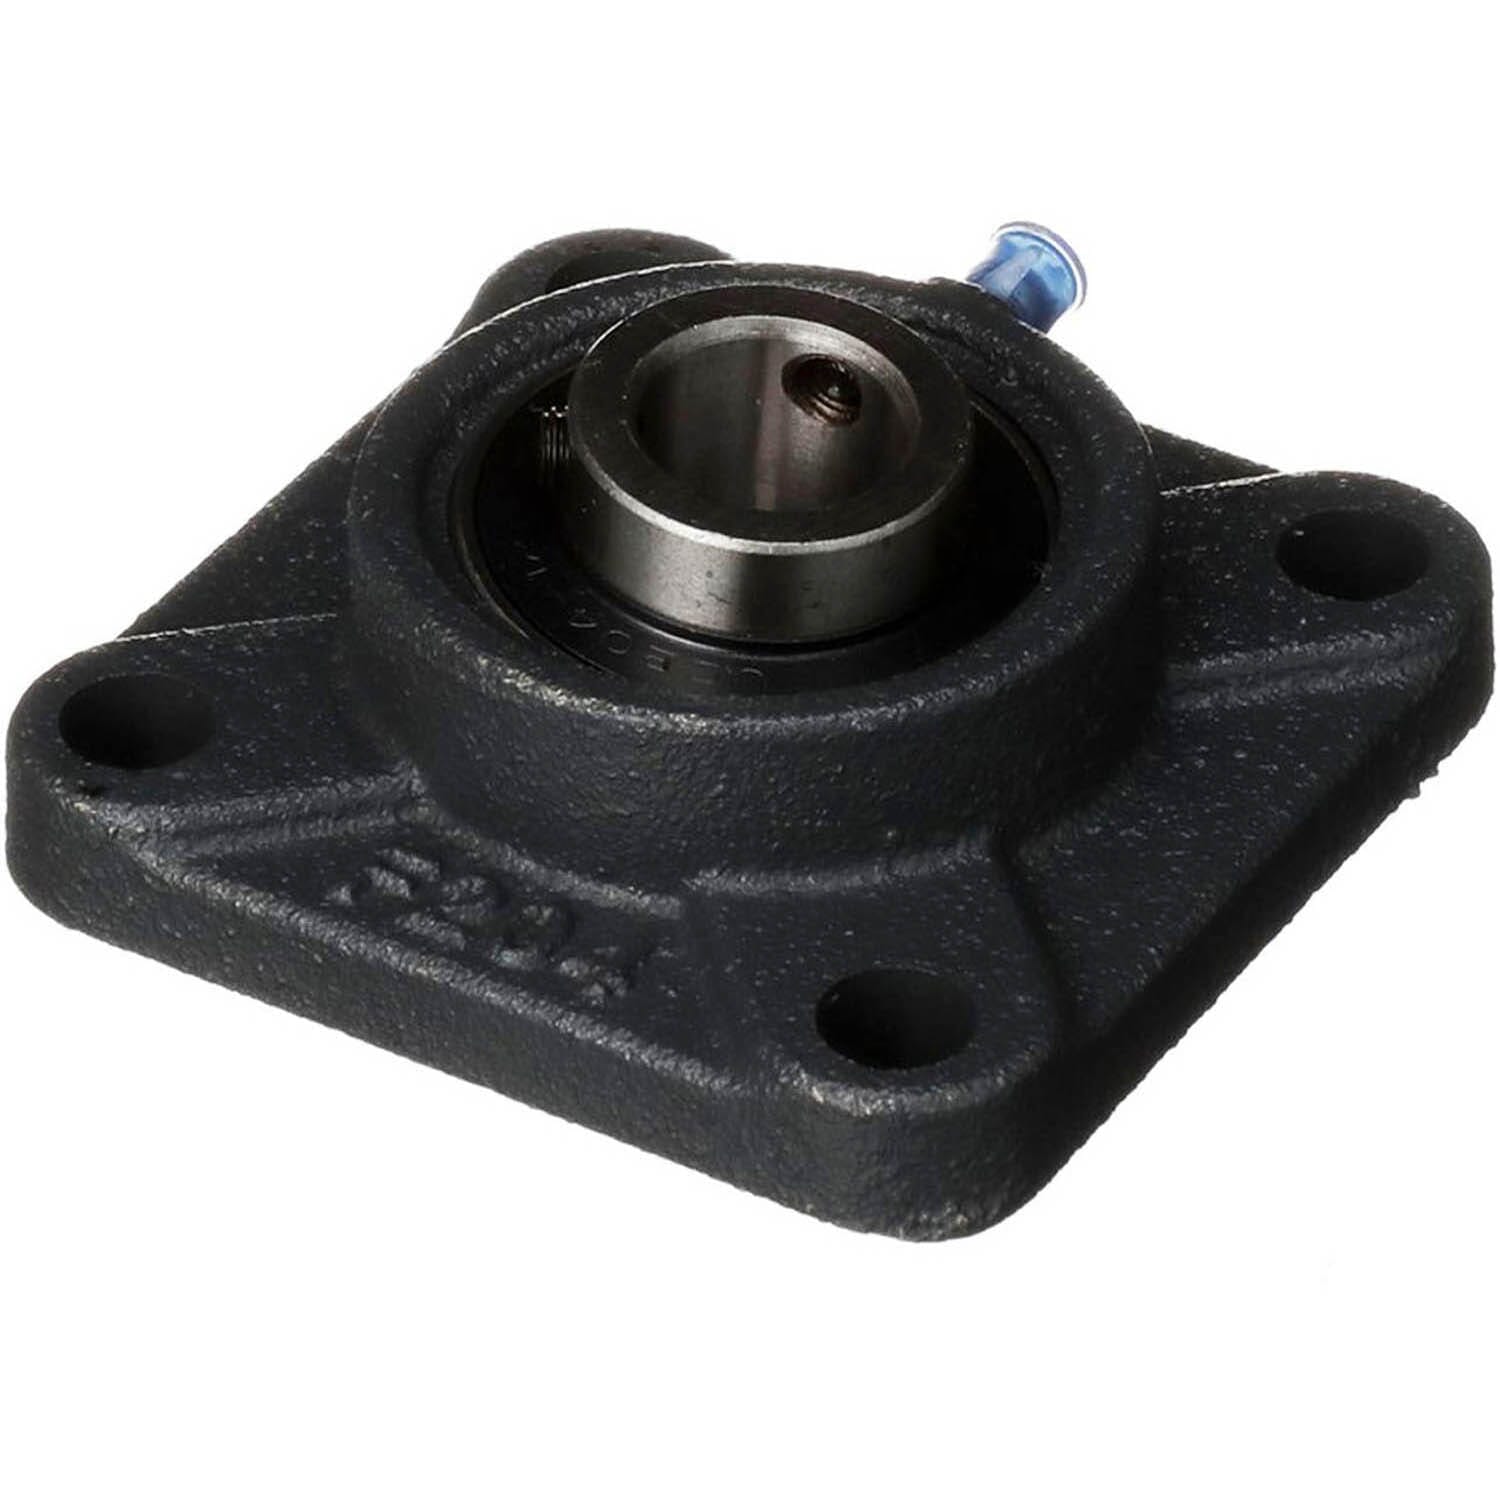
Englander Auger Bearing: PU-UCF204-12-AMP
Product price:
$24.99
A $15.00 Savings over the OEM
Product SKU ! PU-UCF204-12-AMP
Product MPN ! PU-UCF204-12
Bullet point features
- Aftermarket Part Learn more about the difference between OEM and AMP parts
- New Style Bearing With Grease Fitting
- Extends The Life Of The Auger Motor
- 3⅜"L x 3⅜"W" x 1¼"H
- Ships FREE with orders over $99
- 30-Day Hassle Free Returns
- 90 Day Warranty Included
- Same Day Shipping On Most Items!*
- See Complete Description
You may also want to consider...
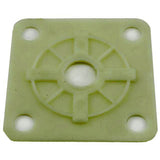
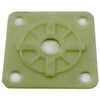
Englander Nylon Auger Bearing Gasket: PU-ABGN
'I had no issues with the parts. I replaced 2 motors, bears, gaskets and a lower auger all with the after market parts. Installation was a breeze because all the parts fit perfectly. "-Jeff